Manuscript B, no. 2-049 (David folio 44a)
Rostam's Third Feat: He Kills the Dragon with the Help of Raḵš
Location: The David Collection, Copenhagen, Denmark, #217/2006, folio 44a.
Page: 35.2 x 21.8 cm.
Painting: 21.6 x 15.3 cm. (Scaled) including extension into left margin
Text area: 28.7 x 14.0 cm. (Scaled)
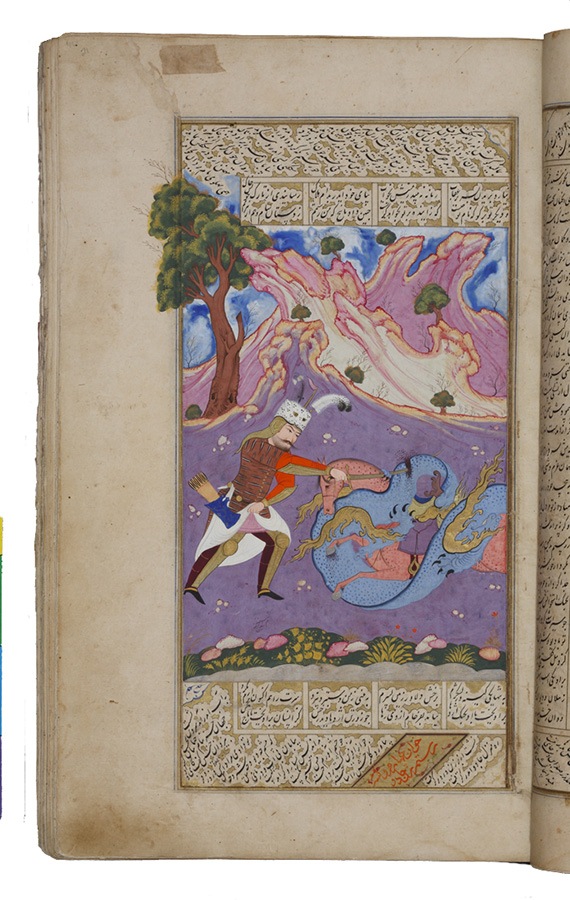
Signature in the lower left corner of the painting: raqam-e kamina moʿin-e moṣavver.
One of the most dramatic and attractive paintings in the manuscript, this illustration depicts Rostam slicing the back of a dragon that has coiled itself around Raḵš as the horse bites him. The episode was the third of seven so-called courses that Rostam endured as he traveled through Mazandaran to rescue Kay Kavos, who had been taken captive by the White Div. Unwittingly Rostam had chosen to sleep near a dragon's lair. Twice the dragon emerged and Raḵš awakened Rostam, who chided the horse because he could not see the dragon. The third time, as he was about to become very angry at the horse, Rostam noticed the dragon and both man and horse attacked and killed it.
Maintaining his customary palette of pink, purple, bright blue, and red, Moʿin has effectively contrasted the writhing blue dragon with pinkish Raḵš and the purple ground behind him. Here the dragon's head is almost obscured as it is tucked in between the horse's saddle and its own back. Moʿin's drawings of dragons attacking other animals and a painting of a man attacked by a dragon indicate his abiding interest in the monsters. Despite the quarter of a century separating the David Collection Shahnama and the single-page painting of a man attacked by a dragon in the British Museum, Moʿin continued to show his dragons with a single branch-like horn, flaming shoulders, and a long, flattened gold snout (fn.33). Unlike other mid-17th-century renderings of this episode, Rostam dominates the scene and the dragon threatens to constrict Raḵš like a large snake.
Painting references:
Canby_ Journal_2010, pp.63-64 no.7 and p.89, fig.21.
Text references:
Warner, II, pp.48-50.
Photo: Permille Klemp. Courtesy of The David Collection, Copenhagen
Sheila R. Canby
Last Updated: January 2, 2014 | Originally published: 2010